Hung up on DIY hi-fi?
Then welcome to
Propods - housings with style.
At last, the cases that
your hi-fi deserves!
Decibel Dungeon
Introduction.
In the dark and distant past, DIY hi-fi was either limited to knocking up a pair of loudspeakers, or confined to those lucky enough to have the skills and knowledge to design and build their own electronics. The Internet has changed all that and since I started Decibel Dungeon, the hobby has become more popular than I could have imagined ten years ago. With the advent of the Gainclone, and more recently, the class-T amps, more and more of us have been building our own amplifiers, either from scratch, from kits or by housing completed modules. One of the hurdles that potential builders have to over come, and arguably the biggest one, is finding a worthy housing for their amp, pre-amp or DAC. Here is one attractive solution to that problem.
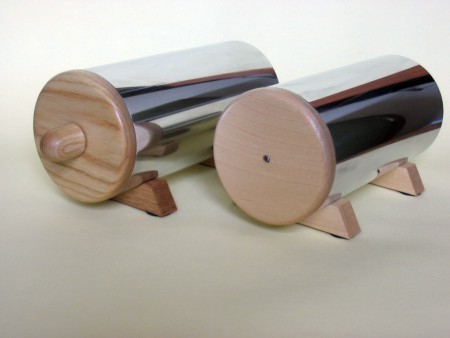
Ladies and gentlemen - The Propods.
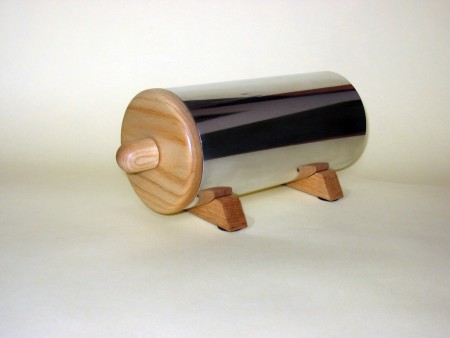
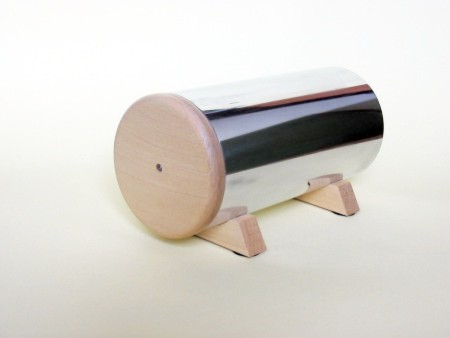
A Propod with oak trim.
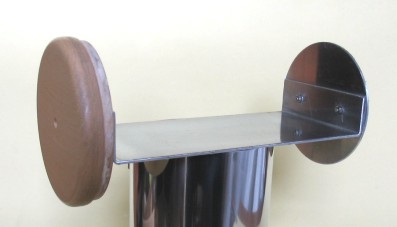
A Propod 'tray'.
The tray is 92 mm wide and 190 mm long. The internal diameter of the tube is 99 mm.
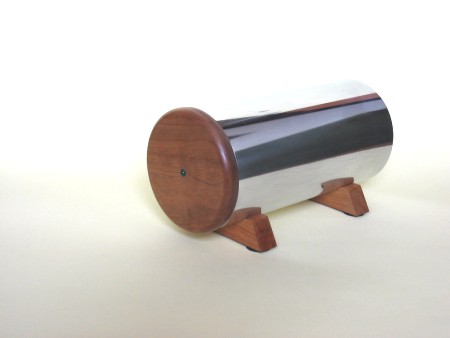
A Propod with cherry trim.
A Propod with ash trim.
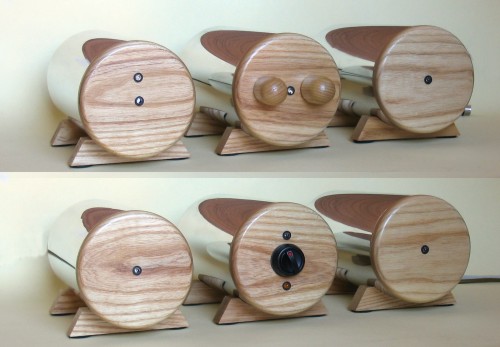
A Propod system.
Here is a system that I built for a customer who wanted a compact, aesthetically pleasing, and bespoke system that used compact SMPS modules and used the DiyParadise Monica2 DAC and Charlize amplifier.
In order to match the DAC and amp, it was necessary to add an active stage between them and this was accomplished with an opamp buffer using OPA134 opamps. I had originally intended to use OPA627 opamps but they do not work very well with lower (12 volt in this case) voltage rails. I tried several opamps before settling on the OPA134, and then set about tuning the circuit until I got the best possible sound. A gain of 8 works very well in this system. I must give thanks to Carlos Machado for his advice on this part of the job.
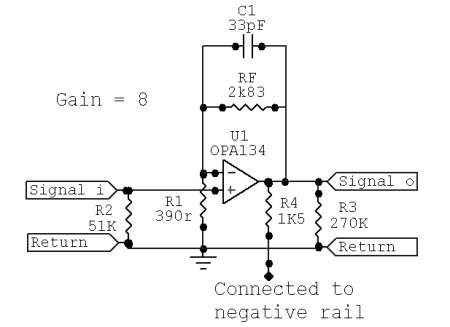
The pre-amp circuit. IMPORTANT - please note: The supply rails for the above circuit are +/-12v. If you use higher voltage rails, the chip (as biased here) will dissipate too much heat!
Because this will be used as a 'system', and because there are DC blocking caps on the output of the DAC , and input of the amplifier, there was no need to add more DC blocking caps in the pre-amp. If you use this circuit in other applications, please be aware that you may need to add DC blocking caps.
The capacitor across the feedback resistor lowers the gain at higher frequencies. The impedance of a capacitor is 1/(2*pi*freq*C), so as frequency increases the impedance of the cap decreases. This in turn decreases the feedback impedance because the cap is in parallel with the resistor. 33pF will start to gradually reduce the gain around 50kHz and will reduce the gain to about half around 2MHz.
The pre-amp has two inputs and a stepped attenuator. There is also a delay circuit that shorts the output until the circuit has 'settled' after power up. Another delay circiut in the amp is used to apply the power gradually, thus reducing power up noise to a minimum.
The whole system is turned on and off by one switch as it will be used by other members of the customer's family.
This is a good example of what can be achieved using the Propods. I won't tell you how much all this cost but if I tell you that you can almost have two of these systems for the price of say a 47 Labs Gaincard, if gives you some idea. I'm not knocking commercial hi-fi here, I fully understand their overheads, but it does show that there is a viable alternative to good-looking, and good-sounding commercial hi-fi! Believe me, this system sings and you can judge the looks for yourself.
Dear Nick,
I just had to write and thank you for putting the propod system together for me. I have had it running for several weeks now and I am discovering new things about my existing music every day. I have to agree with your dungeon opinion that the propod system combining a diyparadise Monica2 DAC, the preamp design on the propod page on your site and the diyparadise charlize T-power amp with the fostex fe207e MLTLs that I put together is a real winner.
Your professionalism, rigour and real investment in the project were impressive throughout the process of decision assembly, testing and delivery.
I could have taken my budget and put it into something that looked more "ordinary" sounded worse but came with loads of marketing and brand image. Admittedly the finish on my homegrown speakers is certainly not up to par compared with your work or factory built items but, satisfaction from having researched and listened and waited apart, I am conviced that there is no way that I could have the sound I have today for the same money any other way.
So, thanks to you specifically for all your help and thanks to the rest of the DIY HiFi community in general for putting so much real intellectual capital into the public domain.
cheers
P
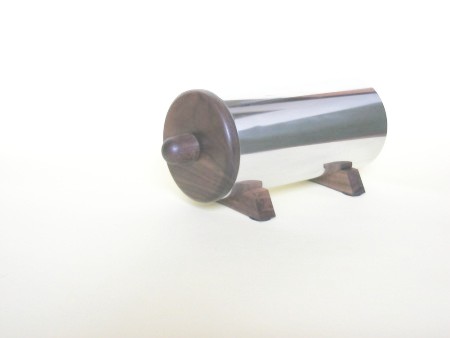
A Propod with walnut trim.
Purchasing Propods.
The total cost for a single Propod including the shipping charges depends on where you want them delivered to:| Delivery to | Finished * | Kit ** |
|---|---|---|
| All UK destinations | 65 UK pounds | 55 UK pounds |
| All Europian destinations | 67 UK pounds | 57 UK pounds |
| All other destinations | 72 UK pounds | 62 UK pounds |
* Finished means that the Propods have been polished and sealed and the woodwork sanded and sealed.
** Kit means that the components (aluminium tube and wooden front plate, feet and knob) are supplied for the buyer to finish.
Last update: 7th May 2008 - Copyright © 2008 - Author Nick Whetstone